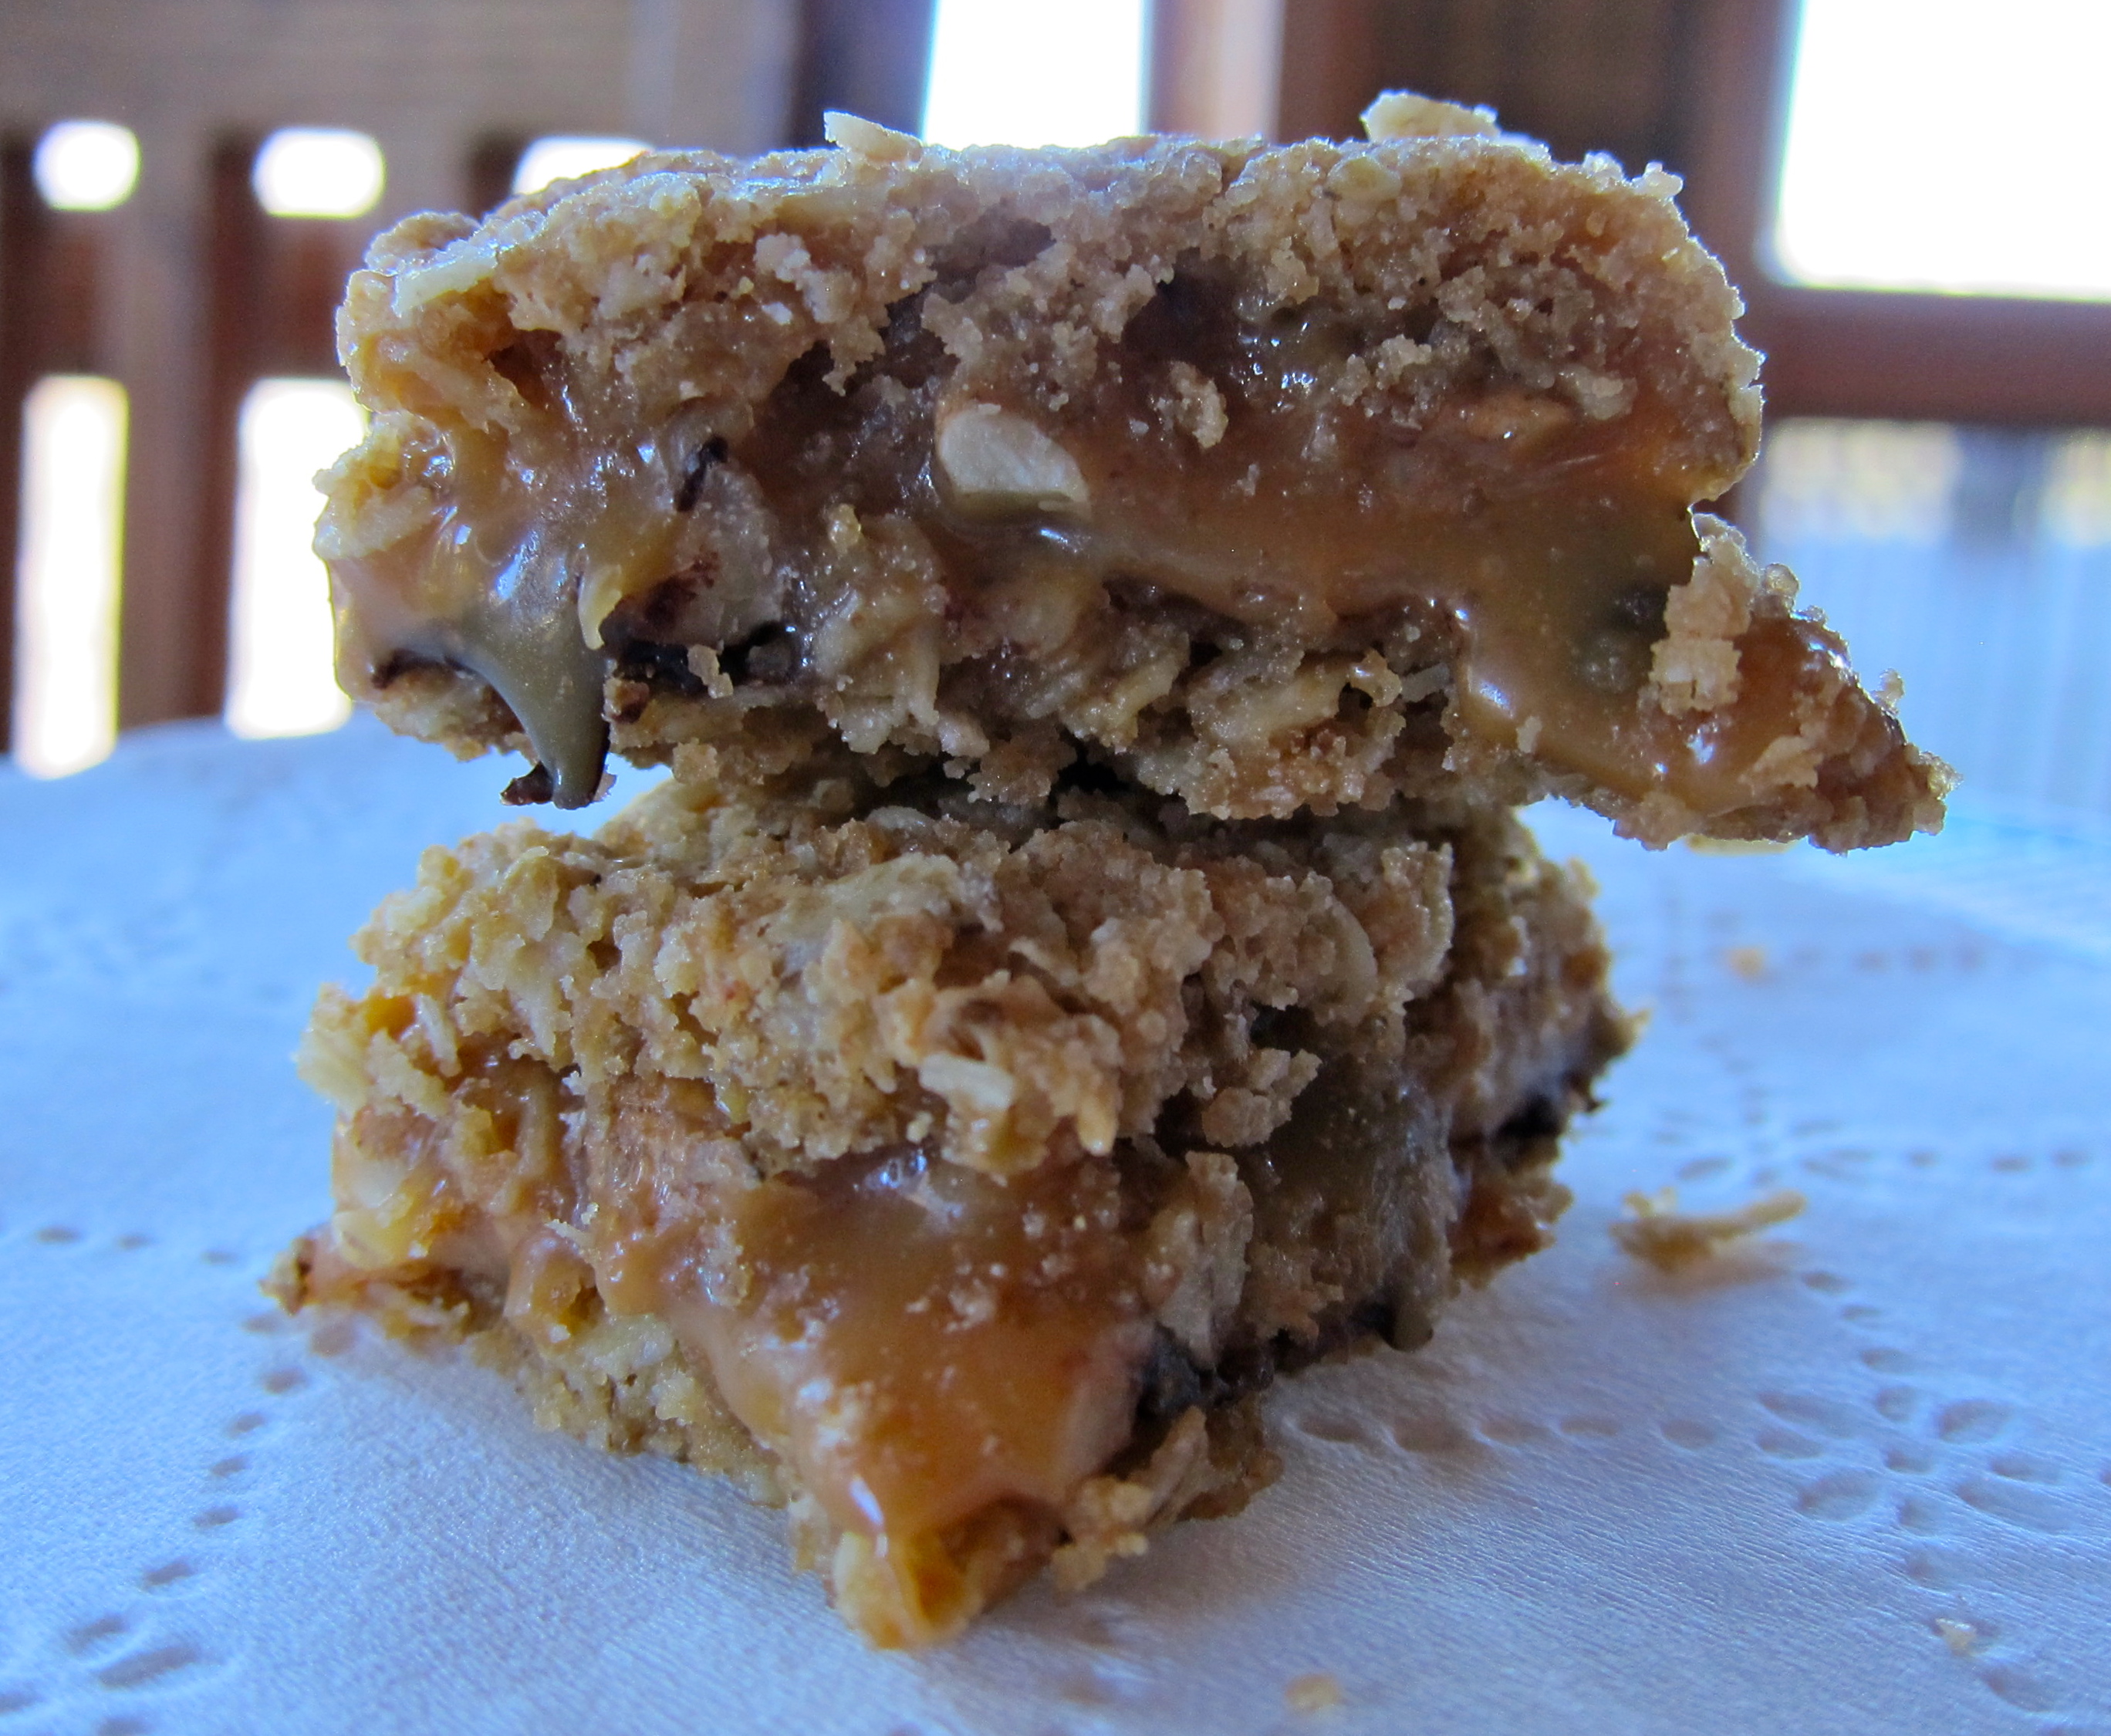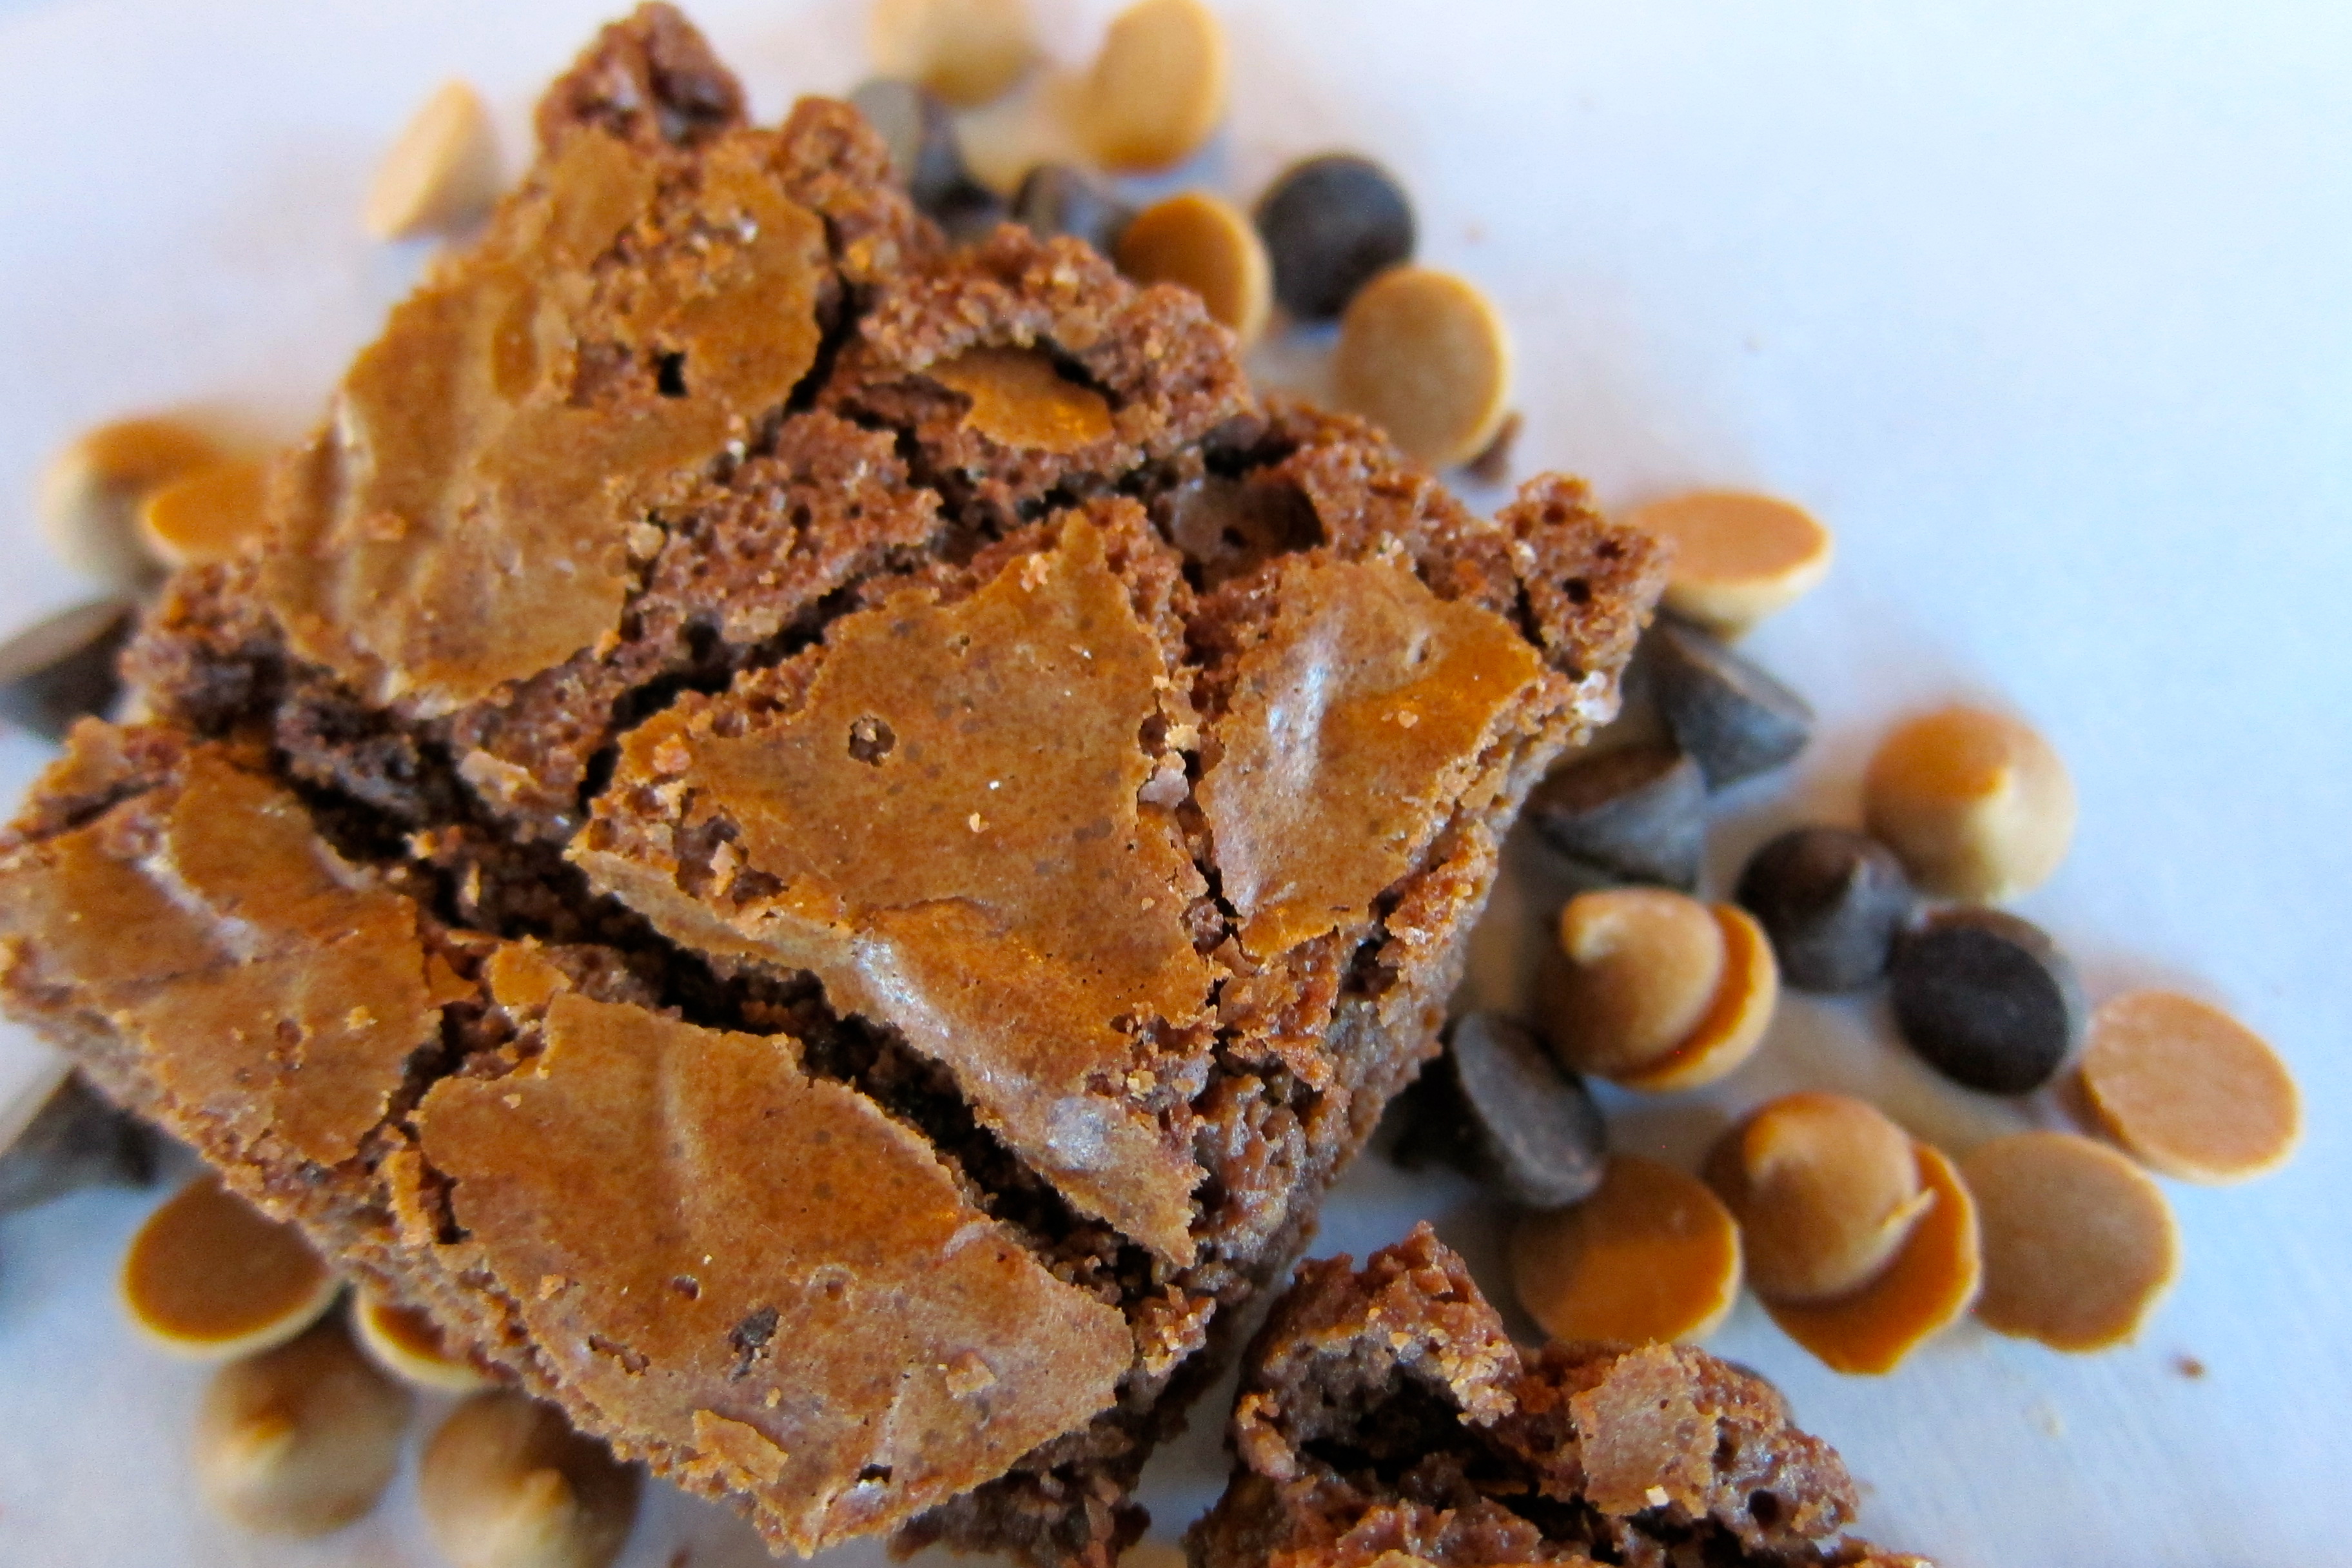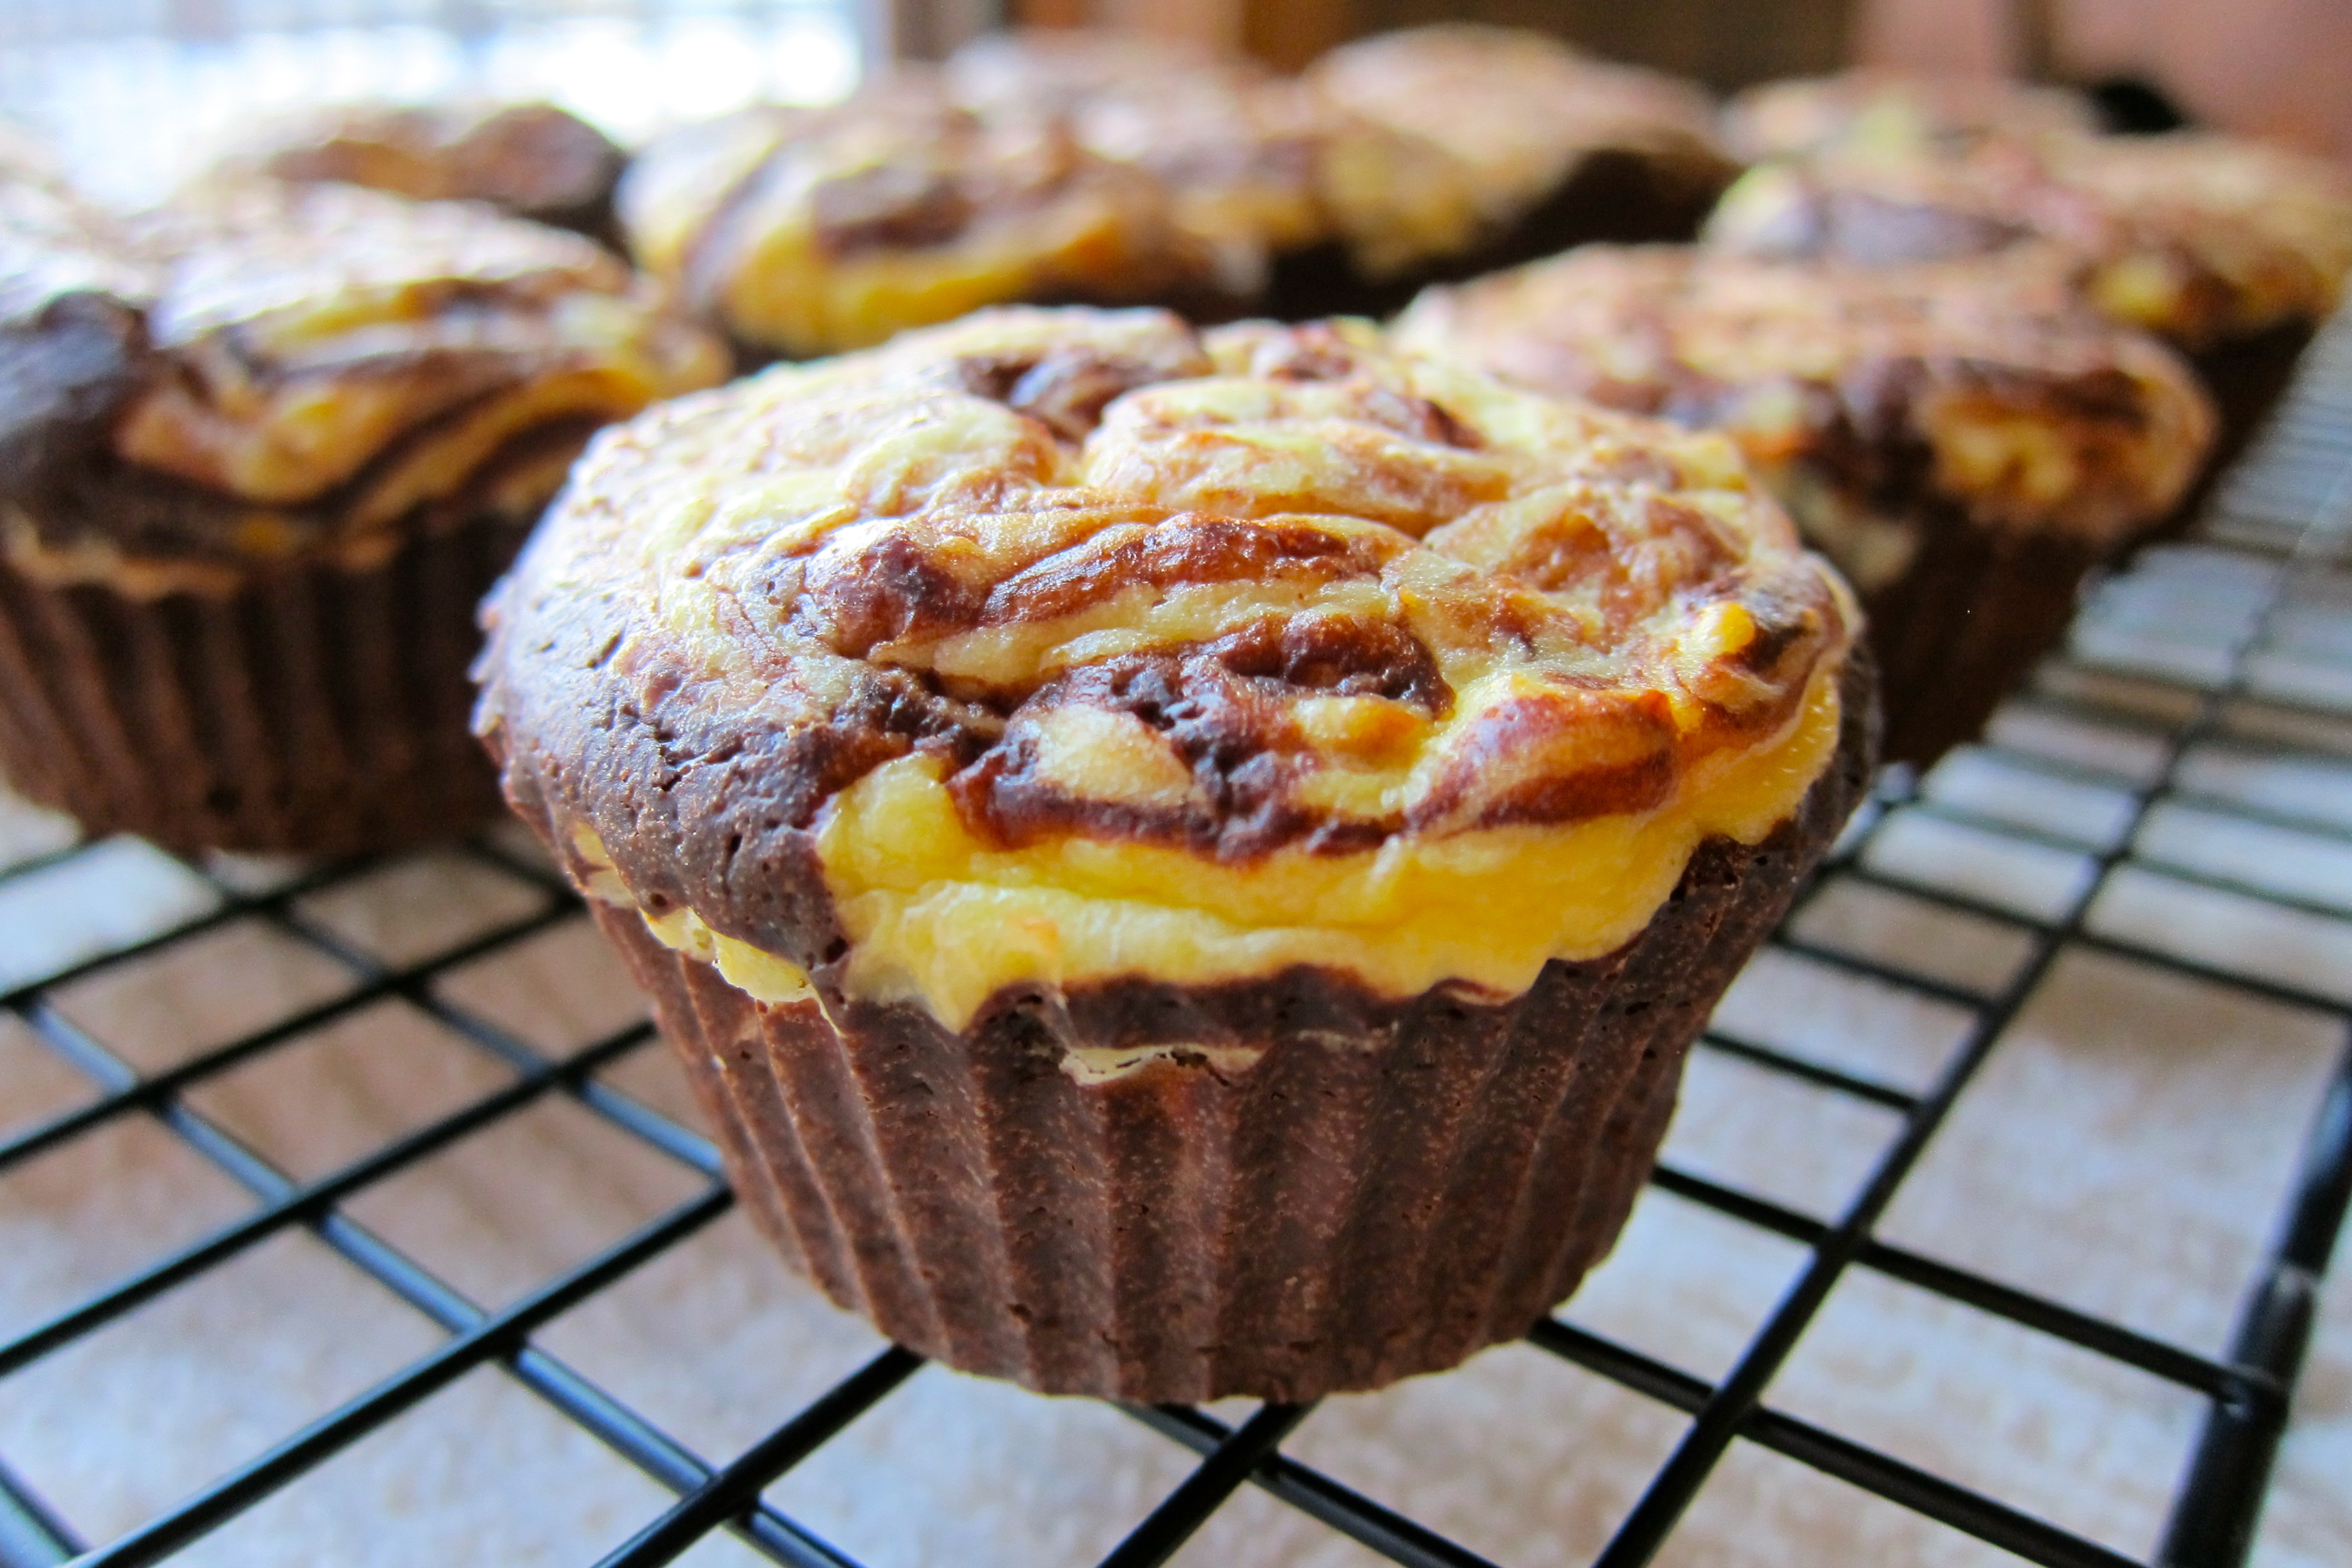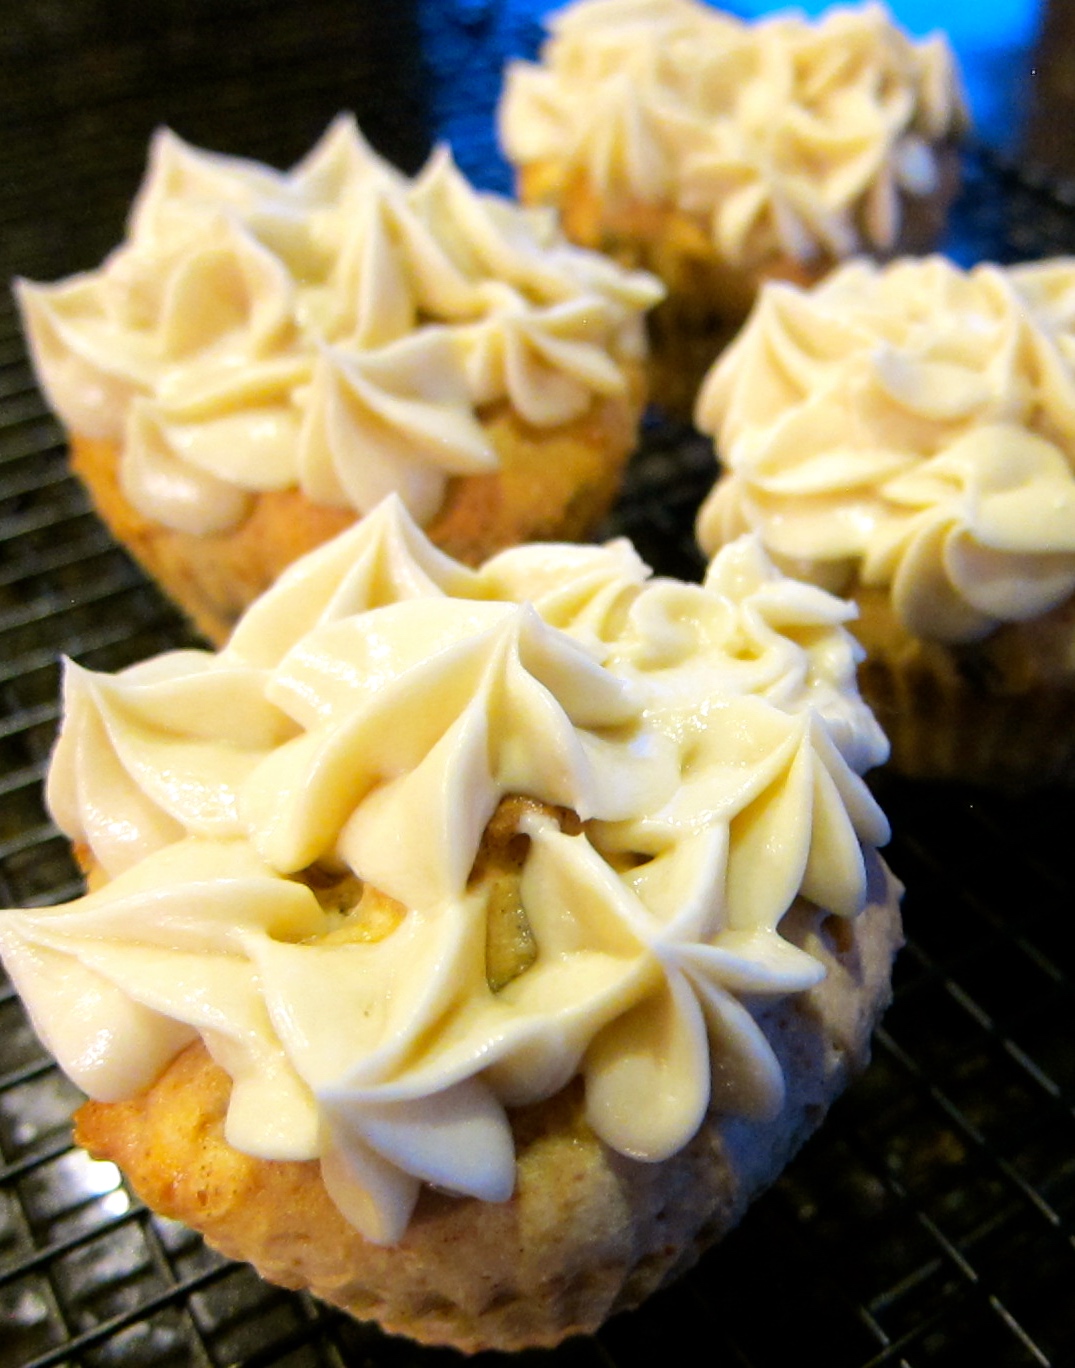
Irish Eyes are definitely smiling for this treat!
Happy St. Patrick’s Day!
CUPCAKES:
6 Tablespoons Enjoy Life Mini Chocolate Chips
3/4 teaspoon flour
1 1/2 cups Gluten Free Flour (I used Cup 4 Cup)
1/2 teaspoon baking powder
1/4 teaspoon salt
1 1/2 ounces cream cheese, softened
5 Tablespoons butter, softened
1/2 cup organic granulated sugar
1/2 cup organic brown sugar, packed
1/2 teaspoon vanilla extract
2 eggs
6 Tablespoons Bailey’s Irish Cream Liqueur (I used Cinnamon Vanilla)
BUTTERCREAM:
1/2 cup butter, softened
1 1/2 cups powdered sugar, sifted
3 Tablespoons Bailey’s Irish Cream (Cinnamon Vanilla)
1 teaspoon vanilla extract
DIRECTIONS:
- Preheat oven to 350º F. Line cupcake tin with 12 silicone or paper liners.
- In a small bowl, toss the chocolate chips with the 3/4 teaspoon flour to coat, set aside.
- Sift together dry ingredients – flour, baking powder and salt; set aside
- In a large bowl, with a hand mixer combine cream cheese and butter. Add sugars and vanilla; mix until well blended and smooth. Add eggs and mix until well incorporated. With mixer on low add dry ingredients and liqueur alternately to the wet mixture, beginning and ending with the dry ingredients. Gently fold in chocolate chips. Batter will be very thick.
- Using an ice cream scoop, divide the batter evenly between the 12 cupcake liners. Bake cupcakes about 20-22 minutes or until the centers are set.
- Remove to a wire rack to cool completely.
- To make Buttercream: Blend all ingredients with an electric mixer until smooth and creamy. Transfer to a pastry bag with decorative tip and store in the refrigerator until ready to frost.
This recipe was adapted from RECIPEGIRL